I made the card above using a paper napkin. There is an amazing technique and works really well! I die cut the tea pot and gold spoon using the dies from a Stampin' Up! stamp set, called "A Nice Cuppa." The tea cup background is the paper napkin. The card was quick and easy to make! The end result gives a nice soft texture to the card, it almost feels like material. Here is the recipe on how to do it. Lay down on a hard flat surface, a sheet of NOT waxed lunch paper, or a couple of sheets of white typing paper. Place a piece of white card on top. On top of that place a piece of cling wrap slightly bigger than the card. On top of this, place the piece of paper napkin you want on the card. Patterned side facing up. On top of this place another piece of NOT waxed lunch paper or some white typing paper. Have your iron on the hottest setting (dry iron) and iron over the top for a few seconds. Then carefully lift the layers off and you will have adhered the napkin to your card!
Trim the extra bits off the side of the card and it is ready to make a card/bookmark with.
So, in a nutshell, the recipe is: Lunch paper, card stock, cling wrap, napkin, lunch paper, hot dry iron.
This is really quick and the effects are really great. You can also laminate the card once it is finished and make it into a bookmark if you like. The possibilities are endless.
To get the layers of paper napkin apart, before you use it, lay the napkin on your table or desk,and on one corner of the napkin, carefully rub a bone folder across the embossing. This will separate the layers so you can use the top patterned layer on your card. Paper napkins have the edges dry embossed to keep the layers together. Have fun!
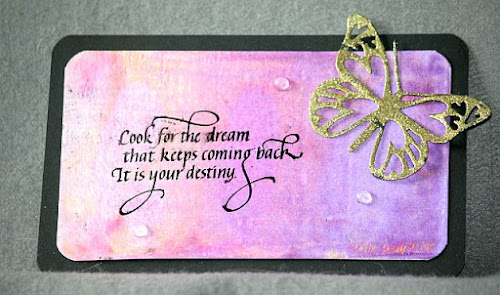
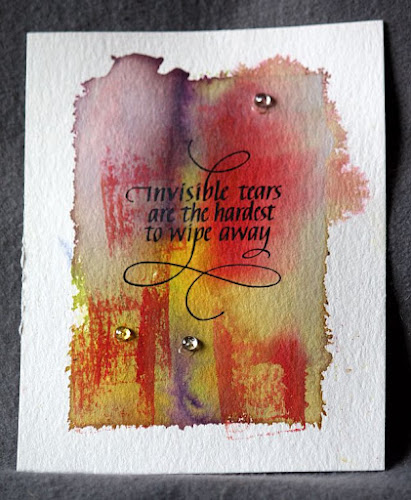
For the following three cards I have used my Gelli plate to make the backgrounds. The word stamps are all Quietfire Designs by Suzanne Canon, and are now available from Emerald Creek. I love these stamps!
Thanks for dropping by, have a SUNSHINE day! {HUGS} from me to YOU:-)


Beautiful cards!
ReplyDelete