Total Pageviews

Saturday, 1 July 2023

Yay! I (Finally) Used My Dinkles!

The card above has "Jalandhar" stamped on. He is one of my Lavinia Stamps, and measures about 6 x2 inches, so he is quite a big stamp. I used my stamp platform to stamp him, as it is much easier for me to get enough pressure to stamp him properly. He is very sparkly, which isn't showing too well on here. I also used one of the Spanish Moss Foliage stamps on the bottom and sides. 
What are "Dinkles" I hear you ask?? Well they are a new range of very vibrant powders that react with water, also from Lavinia Stamps. These are what I made the coloured background with. There are 20 yummy colours, and they come as a powder which you sprinkle on your card, then spritz with water. or you can spritz your card first, and then sprinkle on the powders. You only need a VERY TINY bit of the Dinkles powder as the colours are really intense and go a long way. They also work well on Yupo paper. You can check them out either on you tube or by going to Lavinia Stamps and looking at their videos. I've had my Dinkles for few weeks, but having been so unwell, and then ending up in hospital, I have only just had a chance to try them out. I used some Mixed Media card stock as it takes the water really well without warping the card. For a first effort with them, I am very happy how this cad turned out!
These next two cads are a couple of the ones I posted earlier. I have backed them onto folded card stock ready to use for Christmas. 

These last three photos are of some cats I made, which I will make into cards. I just need to attach them to some folded cardstock. Very cue and fun to make!


 Thanks for dropping by, have a SUNSHINE day! Remember to always be your authentic self, and shine bright each and every day!

Tuesday, 27 June 2023

Just Dabbling.

Gosh it's been awhile since I last posted anything. Since my last post I have been back in hospital, and am finally back home again. It's been a rough journey and I am still not 100% well yet. I am feeling exhausted and resting a lot during the day. These are a few very simple cards I had half made weeks ago. The card above was made using stamps and dies (Forever Fern) from Stampin' Up! It's a discontinued set.
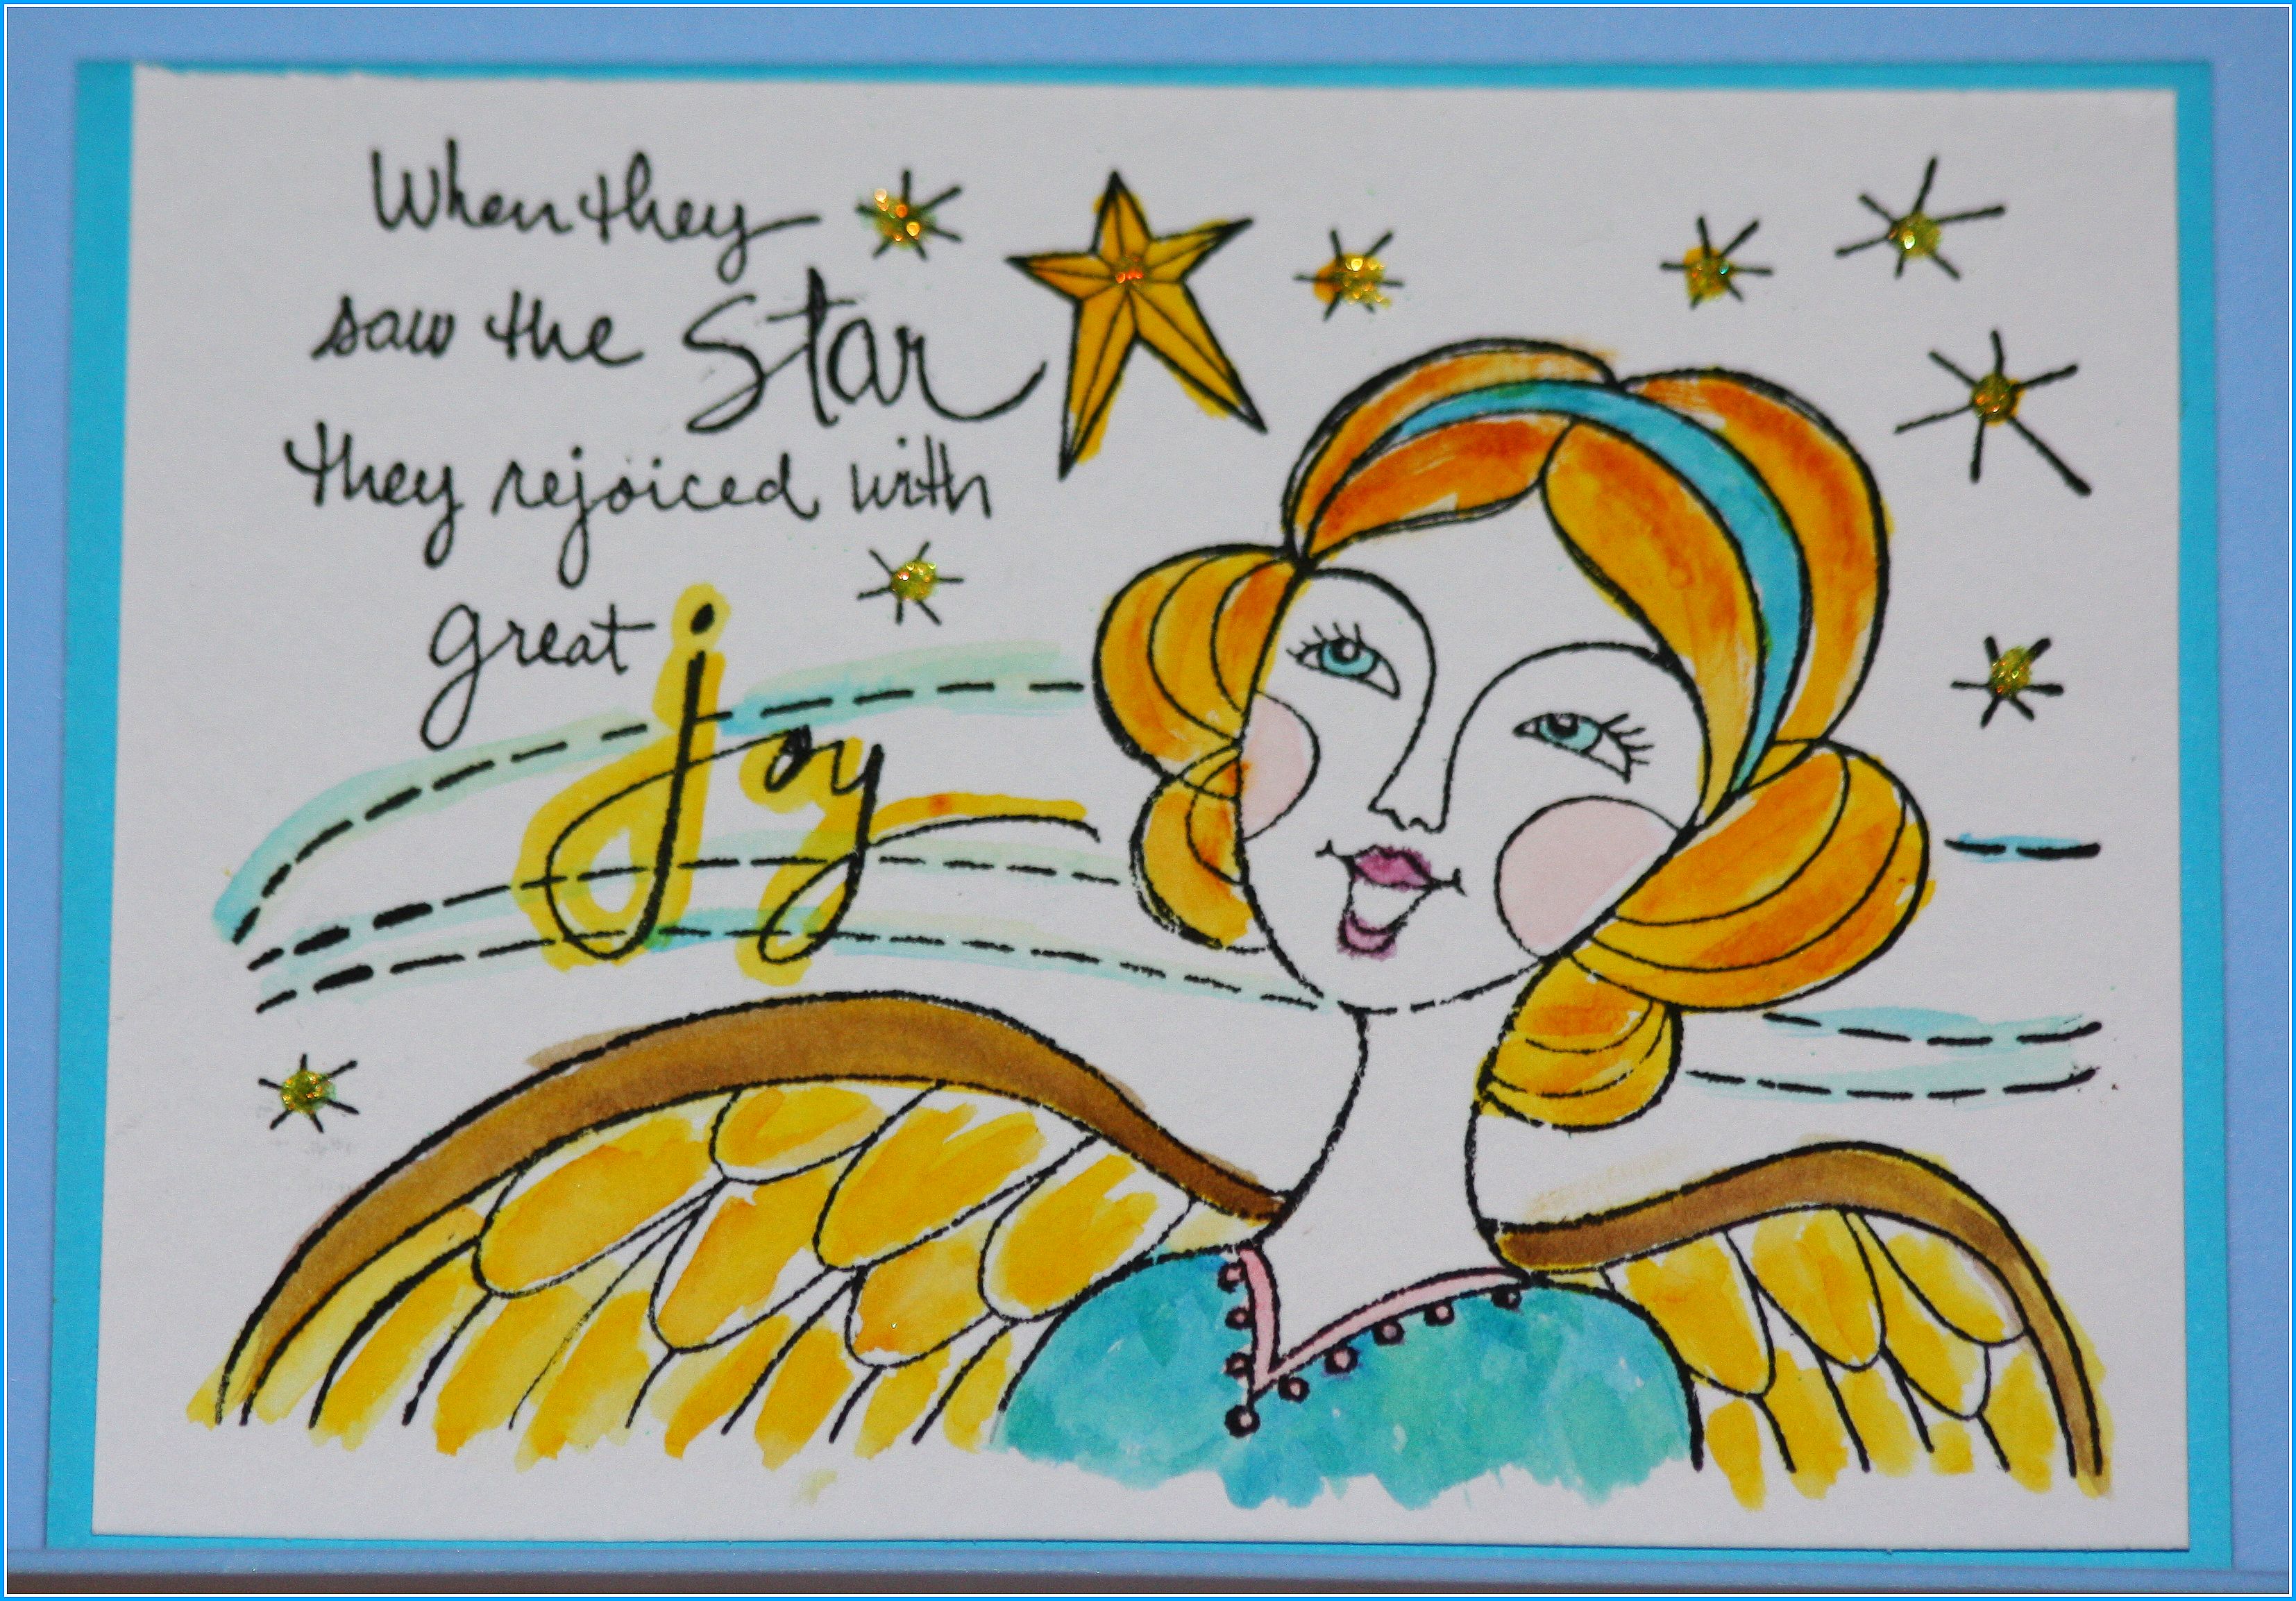
These next three cards are stamped using a Stampendous stamp. I water coloured the image, which was very relaxing! If I am going to colour images, I prefer to water colour rather than use pencils etc.


This Christmas card above and below is made using some dies from Kokorosa Studios. The stamp was one I already had. 
Not much for this post as I really am not well and cannot concentrate for long. This is due to the strong medication I need to take right now. I am hoping things improve a lot on the next two weeks, because I am going to a big craft show called SENZ. I used to go to this show every year, but then they moved the venue and I wasn't able to get there. This year (it's held once a year) it's a bit closer, but still a bus, a train, another train, an a final short bus ride to get there. And then I do it all to get back home again! (Yes, I am crazy, I know!) So I need all my energy to get myself to the show. I have had my ticket for the last 8 weeks. I am keeping my fingers crossed that it is a dry sunny day that day, however, it's Winter here and so getting a dry sunny day might be a challenge! Oh well, I will still be going😊.  Anyway, that's all for now, thanks for dropping by, have a SUNSHINE day! Remember to always be your authentic self, and shine bright each and every day.
 

Saturday, 17 June 2023

Not Feeling Well.

Just dropping in to let everyone know that I am not well at the moment and have not been able to make any cards or anything. I have a terrible sore throat/head cold/sinus infection. I also have a temperature and am taking Paracetamol every four/five hours to keep my sore throat and temperature at bay.  It is ICY cold here, and next week, all going to plan, I will be having a heat pump installed in my home. This is a very cold damp house in Winter, so it will be nice to have some heat for a change.
These are some of the photos I till while doing the photos for March Cato's advertising earlier in the year. This photo (above and below) is one of the truckers, called Alan.  He kept asking me to take his photo...so I did! I can't remember the other two guys names, but they were all some of the truckers.  


The photo above is some Belladonna flowers (aka Naked Ladies) growing in the garden. Such a pretty pink, although these look almost white. I think these ones had been flowering for awhile.

 
Above is another one of the truckers who wanted his photo taken! They were all really friendly polite guys, and always waved if they saw m out on the street. Even now, 2 1/2 months later, they still wave and honk the horn if they see me! They have moved from my road and are further along another road nearby.
Last but not least is a photo I took of the moon one day. I took this around 11 am in the morning, and I would have thought the moon would have disappeared by that time, but here it is! Thanks for dropping by, have a SUNSHINE day! Remember to always be your authentic self, and shine bright each and every day!


Friday, 2 June 2023

Book Marks!

I ad some card scraps sitting on my desk, so decided to make to book marks with them. On the one on the left, I used some LS Mica Infused sprays for the background, and two LS stamps. I used some wool I had for the tassel things. I find the wool at my local Hospice  shop. The second book mark I used LS Metallic Gilding Polish for the background. I coloured some of the (cardboard) cogs with LS Mica Infused Sprays. The metal cogs I left as they were. I die cut the key from some thick card stock, and used some LS Gold Metallic Gilding Polish to colour it.  The die is from Tim Holtz. These were fun to create, if not a little messy! This book mark is very sparkly in real life!
Thanks for dropping by, have a SUNSHINE day! Remember to always be your authentic self, and shine bright each and every day!

Monday, 29 May 2023

Meet "Zelith"!

This is Zelith, she is my LS Mermaid stamp ,and this is the first time I have stamped her! I stamped her onto some card and cut out just her body. I used an LS stencil and spread on some 3D texture paste. Once that was dry - about five minutes - I pained on some pink, blue and yellow Mica ink, also from LS. Before that dried I sprinkled some very fine gold glitter onto her body and let it dry. I then stamped Zelith onto a 6x8 inch piece of white card and carefully glued he body on to the stamped image. I used blue and green pan pastels for the background and edges of the card. I stamped the foliage images an coloured the round flower balls using Posca pens. I used a sort of leaf image stencil to lightly brush on some green ink to make it look like foliage floating in the water.  After stamping the bubbles I used some clear Nuvo Crystal Drops to the bubbles, and added some silver glitter to the bubbles above Zelith. There is lot's of sparkle on this card, but it doesn't show on this photo.  The foliage also has clear glitter gel pen over it. It took me two days to complete as there's a lot of elements to it.  When I started the card, I knew I wanted to make her body 3D, but wasn't sure hw to do it, or if it would even look right. So glad I persevered because I am very happy how it turned out! Crafting(amongst most other things) is not always easy for me as I have no peripheral vison, and have sight in only half an eye.
Above is a close up of Zeliths body. This card is one of those that you want to keep touching because her body is lumpy bumpy! I have touched it so many times I am surprised the 3D texture paste hasn't rubbed off!

Below are the 1 1/4 inch by 3/4 inch finger sponges I use to get the pan pastels into small area's.  They cost less that $2 for 5 sponges and I get them from an online place called Temu. If you type Temu into your search engine, it will bring the store up. The sponges have a small bad of elastic on the back and you put your finger under it and it stays on your finger while you work. I love them! They are sold as makeup sponges, but who say's you can't use them for other things?!
Thanks for dropping by, have a SUNSHINE day! Remember to always be your authentic self, and shine right each and every day!
 

Sunday, 30 April 2023

Clear Stamp Storage!

 My first photo, below, shows some of the beautiful Autumn trees I see from my kitchen window. As you can see, they are slowly losing their leaves, which means Winter is not far away. Winter is not my favourite time of year, as it gets so wet and cold.
These next photo's are of how I am storing my clear stamps. I purchased some clear cd sleeves, and have put the stamps inside. SO much easier to find what I want.


The last photo shows the empty cd sleeve, beside the sleeve with one of my clear stamps inside. I have written the catalogue number and name of each stamp on a piece of card which is inside the cd sleeve with the stamp. I find it a lot easier to find which stamp I am looking for, and I also made some clear dividers with each stamp category written on it. It took me a day to get all this done. Thank you for dropping by! Have a SUNSHINE day! Remember to always be your authentic self, and shine bright each and every day!

Monday, 17 April 2023

Gelli Plate Cards.

All of these cards are around 5 inches square. I watched a quick video by Tracey Dutton, who owns Lavinia Stamps, on making these cards, and was inspired to make some. I used a square gelli plate to make the backgrounds. Here's what I did: I used a brayer to roll on some LS Della Blue ink on to the gelli plate. Then I used my fan rush and carefully flicked on small splatters of various colours of mica infused inks, all from LS. Once I had done that, I carefully placed a piece of white cardstock on top of the gelli plate, and smoothed it over with my hand.  Then I lifted the cardstock up and the back ground was made.  You can see some back grounds I made further down in here.  It's a lot of fun and you never get the same patterns twice.
Once I had the back ground made I then chose the stamps I wanted and stamped them on to the card. I used a circle mask o make the moon and used a small stencil brush to brush on a small amount of Della Blue ink around the edge of the mask to get the moon shape. I stamped different words on each card, and added some glitter glue around the moon.
These are easy cards to make, and you could very quickly mass produce cards in this style.
These last four cards are the back grounds I made.  So quick and so much fun to do! 


Thanks for dropping by! Have a SUNSHINE day! Remember to always be your authentic self, and shine bright each and every day!